STEP ONE – Collect your supplies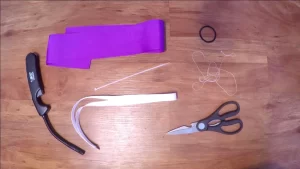
 STEP TWO
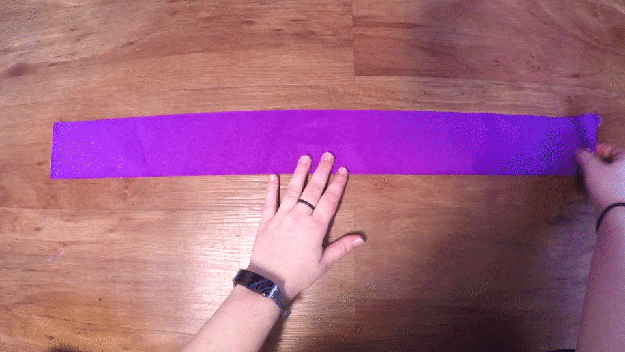
Lay your 3-inch ribbon down flat and horizontally.
Fold about a third of the right side down at a 45-degree angle.
Do the same thing to the left side so that it lays on top of the right.
It should now look like a ribbon.
STEP THREE
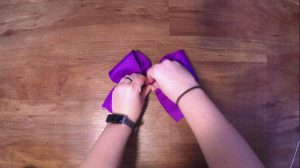
Using your fingers, scrunch the top middle and the bottom middle halves of the bow together.
STEP FOUR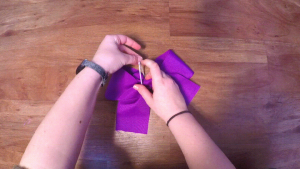
Place the zip tie around the middle of the bow and ensure that it is tightly wound.
STEP FIVE
Fold the right bottom ribbon in half vertically.
Then, using scissors, cut a right triangle, making the folded side the longest side of the triangle.
Do the same to the left bottom ribbon.
 STEP SIX
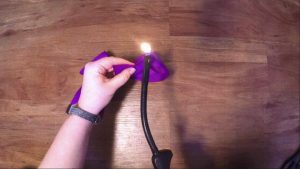
Using a lighter, burn the edges of the newly cut ribbon (the triangle-like part) so that the ribbon doesn’t fray.
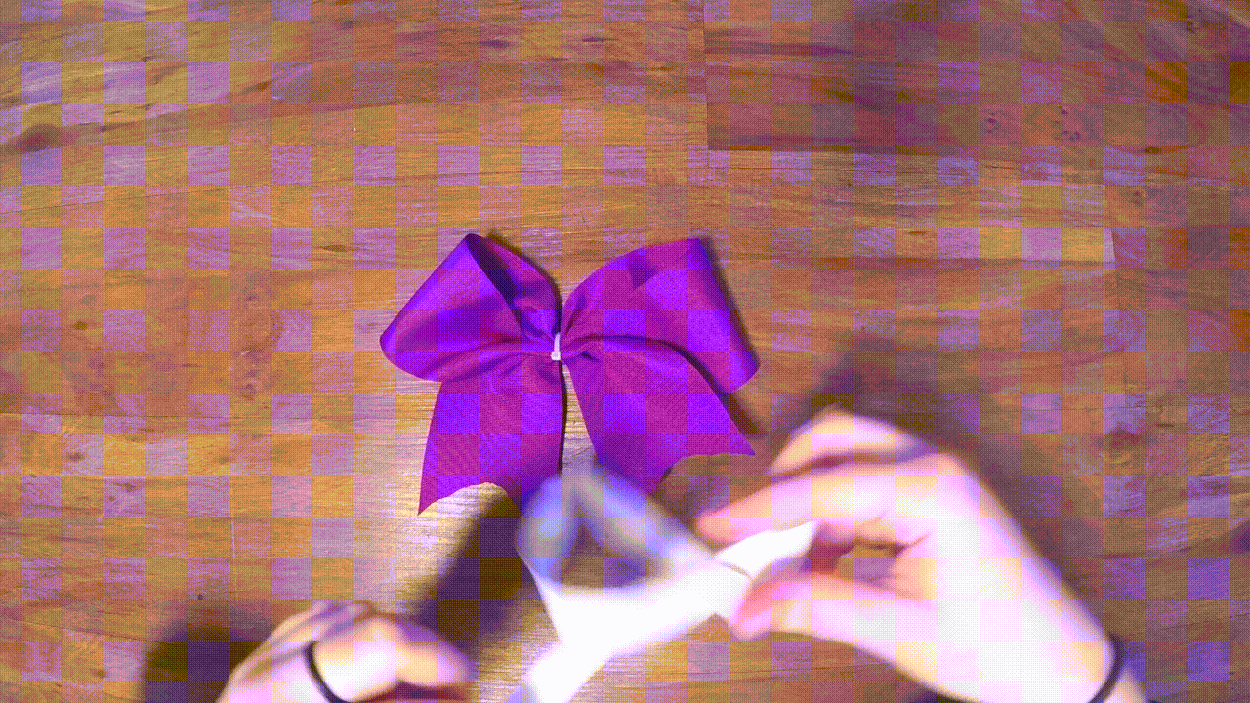 STEP SEVEN
Flip the bow over.
Grab your ⅞-inch ribbon.
Tie a knot in the middle of the ribbon.
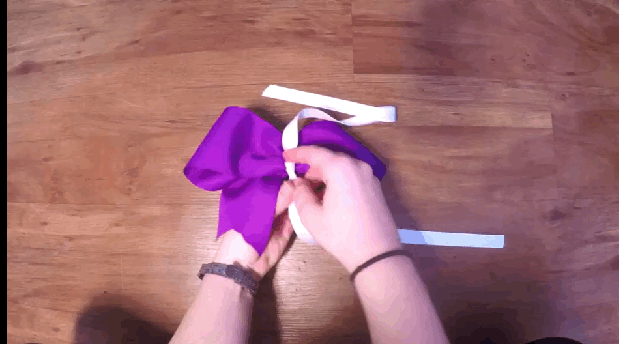 STEP EIGHT
Making sure the knotted part of the ribbon is on the front middle of the bow, turn the bow over and tie another knot on the back of the bow.
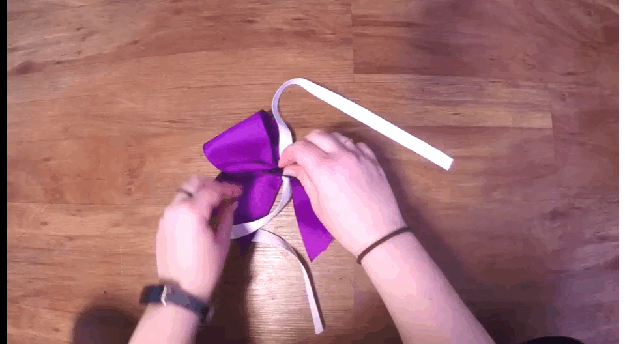 STEP NINE
Grab your hair tie and place it on top of the back knot.
Now tie a firm knot using the ribbon so that the hair tie is inside of the knot.
If you want, you can even use sewing supplies to ensure the knot stays in place.
 STEP TEN
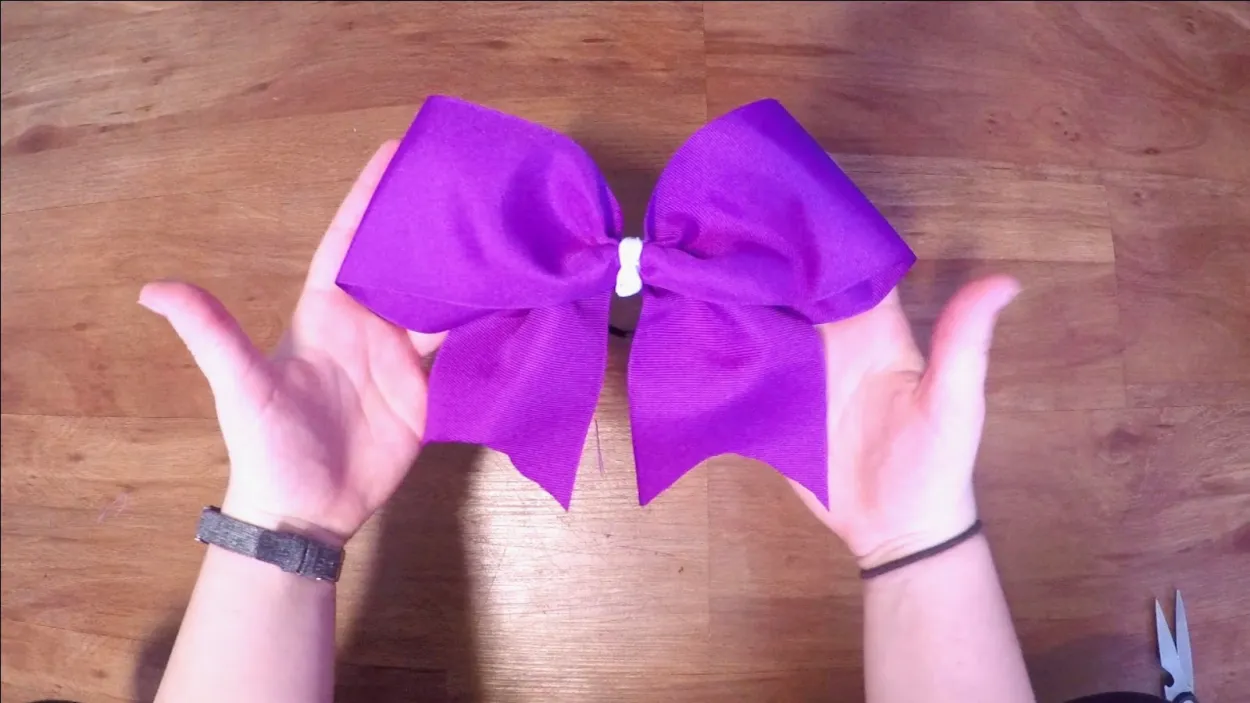
Your bow is THON ready!
Leave it plain or decorate it with stickers, puffy paint, and anything else you want!
To ensure that THON is able to donate 96 cents of every dollar raised to Four Diamonds at Penn State Health Children’s Hospital, we heavily rely on donor support. These donations provide us the resources to create endless memories for our Four Diamonds families & foster a deep love & connection to our mission for our volunteers through Pre-THON Events, alternative fundraisers, & THON Weekend.